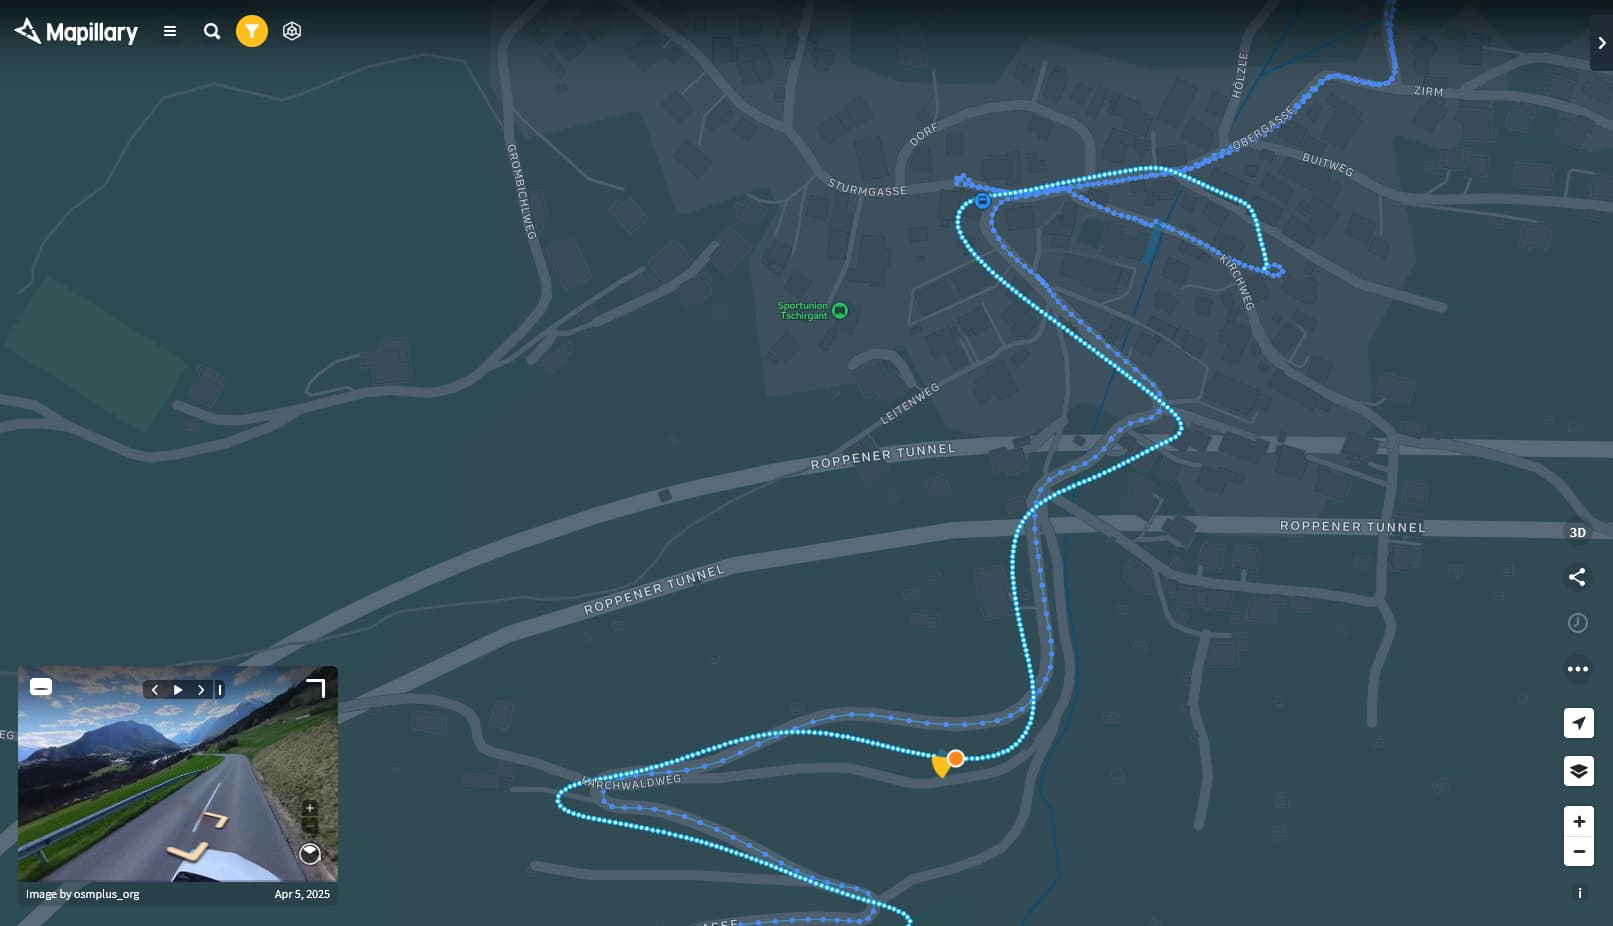
I’ve recently decided to attempt to upload my Insta360 coverage from 2023 again, since I finally know how to do things unlike my pea brain self from before. I can now say that I have successfully uploaded multiple videos from my X3 video archive with (somewhat) accurate GPS! An example of my results can be seen here. My new workflow for uploading Insta360 videos is as follows:
First, get the .gpx file with UL2GSV, and the MP4 file from Insta360 studio.
Next, if you have used your phone to get the GPS, you will need to shift the GPS forward about 4-5 seconds to match with the video, the way I currently do this is with this website, and I manually shift the GPS points forward by 5 units.
I REALLY hope there’s a better way to do this however, since it’s really painful to do this for hours on end. If there’s a better workflow for shifting GPS, then please tell me how.
Finally, once you have exported the fixed .gpx file, you can use UL2GSV’s VID2JPG.exe to then have a folder of .JPG files with the 360 photos in them. From there, you can upload it to Mapillary with ease.
Unless if there’s a better way to shift the GPS to be correct, I would still not recommend using Insta360 for making 360 images unless if they add an accurate GPS sensor inside their cameras in the future, similar to what the GoPro MAX has.
Once I have it exported, the raw data in the GPX file is still pretty much the same as before in notepad, and once I create a new VID2JPG folder with the original MP4 file, the images don’t contain the -4.5 offset…
Thank you! I found out what the issue was on my end, and it was that I didn’t install that plugin . Anyways, the images appear to now be in the correct place! I’ll do some more testing, so expect the images to be published before the end of the week!
I work very intensively with the Insta360 X3 and have found a stable, reproducible method.
Key points:
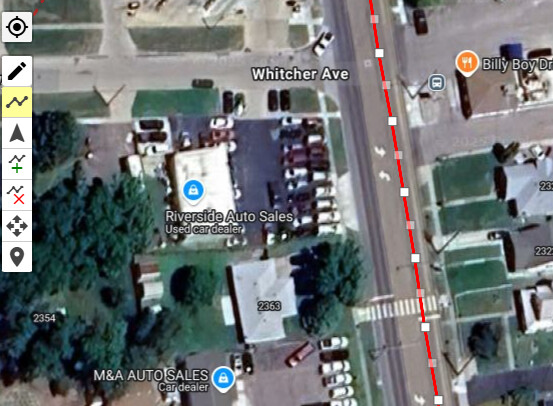
This camera creates 30-minute video sequences and then requires a pause of about 5 seconds to automatically start the next sequence. This results in short interruptions during longer journeys. After 2,5 sequences (80 minutes), a battery change is necessary. For usable GPS recording, the GPS remote control requires a few minutes of lead time to acquire sufficient satellite signals. A restart of the camera and GPS remote is required immediately before the actual recording. This means restarting the entire system by cold-booting the GPS remote before each recording; this restart takes about a minute. (I assume the GPS chip in the camera continues to run in the background.) Once the camera data appears on the GPS remote display, recording can begin immediately. This sounds complicated, but it can be easily integrated into the workflow. If you start the camera too quickly, you’ll get an inaccurate GPS track, as in this example:
I’m fine with this way of working, but I still find the requirement to restart the Insta Remote before each recording a bit annoying. Does anyone have any ideas how this could be improved?
Memory card: I use a 512 GB SanDisk Extreme Micro SD card SDSQXAV-512G-GN6MA. This card works perfectly with my Insta 360 X3, and there are no unpleasant surprises due to a full memory card.
My M1 MacBook Pro has 16 GB of internal storage. If I upload more than 2.5 hours of raw data to the Insta Studio software, the required MacBook RAM goes into the cache, and video rendering becomes very slow. So my tip: Sort raw data into separate folders beforehand. And never open the Insta Studio software for editing for more than 4 x 30 minutes.
For uploading with the Mapillary Desktop Uploader, a 10-year-old used desktop PC running Ubuntu has proven to be a good choice. An older processor is also sufficient, but sufficient installed RAM is important. My Linux machine has 16 GB of RAM, so the Mapillary Desktop Uploader only pushes the Pentium to 20% utilization. Tip: Give your Linux machine plenty of RAM. If you only have 8 GB of RAM, you force the Pentium to serve the cache, and the required processing power goes up to over 90%.
If Google doesn’t have anything better to offer, they’ll gladly accept your videos. To do this, you need to adjust the times in the Insta 360 X3 GPX file with the times provided by Google for the video. I do this with a text editor using search and replace.
If your videos are finally online, that doesn’t mean everything’s fine. Google is an arrogant platform and treats you like dirt. They probably treat their own StreetView staff like that. But they have much better cameras and tools than you. I’m now focusing my valuable time on Mapillary; you’ll be happy there.
The good news is I also send all of my videos to Mapillary too, since they are a lot easier to view from there than on google. It also doesn’t help that google removed the ability to reliably view user submitted images on PC…
They have high quality standards and that’s okay. However, arrogance has been the downfall of every empire ever since empires came to exist, no matter whether economic, technological, or political empires. If you look at the world with open eyes these days we can clearly see empires on the verge of downfall too.